> ## Documentation Index
> Fetch the complete documentation index at: https://help.hellofig.io/llms.txt
> Use this file to discover all available pages before exploring further.
# Getting started
> Build a complete website with Fig, just by describing what you want.
One of the most popular things to do with Fig is build a **website** — and then put
it online with your own web address. This section walks through it start to finish.
## Build your website
In a chat, tell Fig what kind of website you want. Include anything that matters to
you, like:
* What your business does
* The name you want shown
* The style or colors you like
* Any sections you need (about, services, contact, booking, and so on)
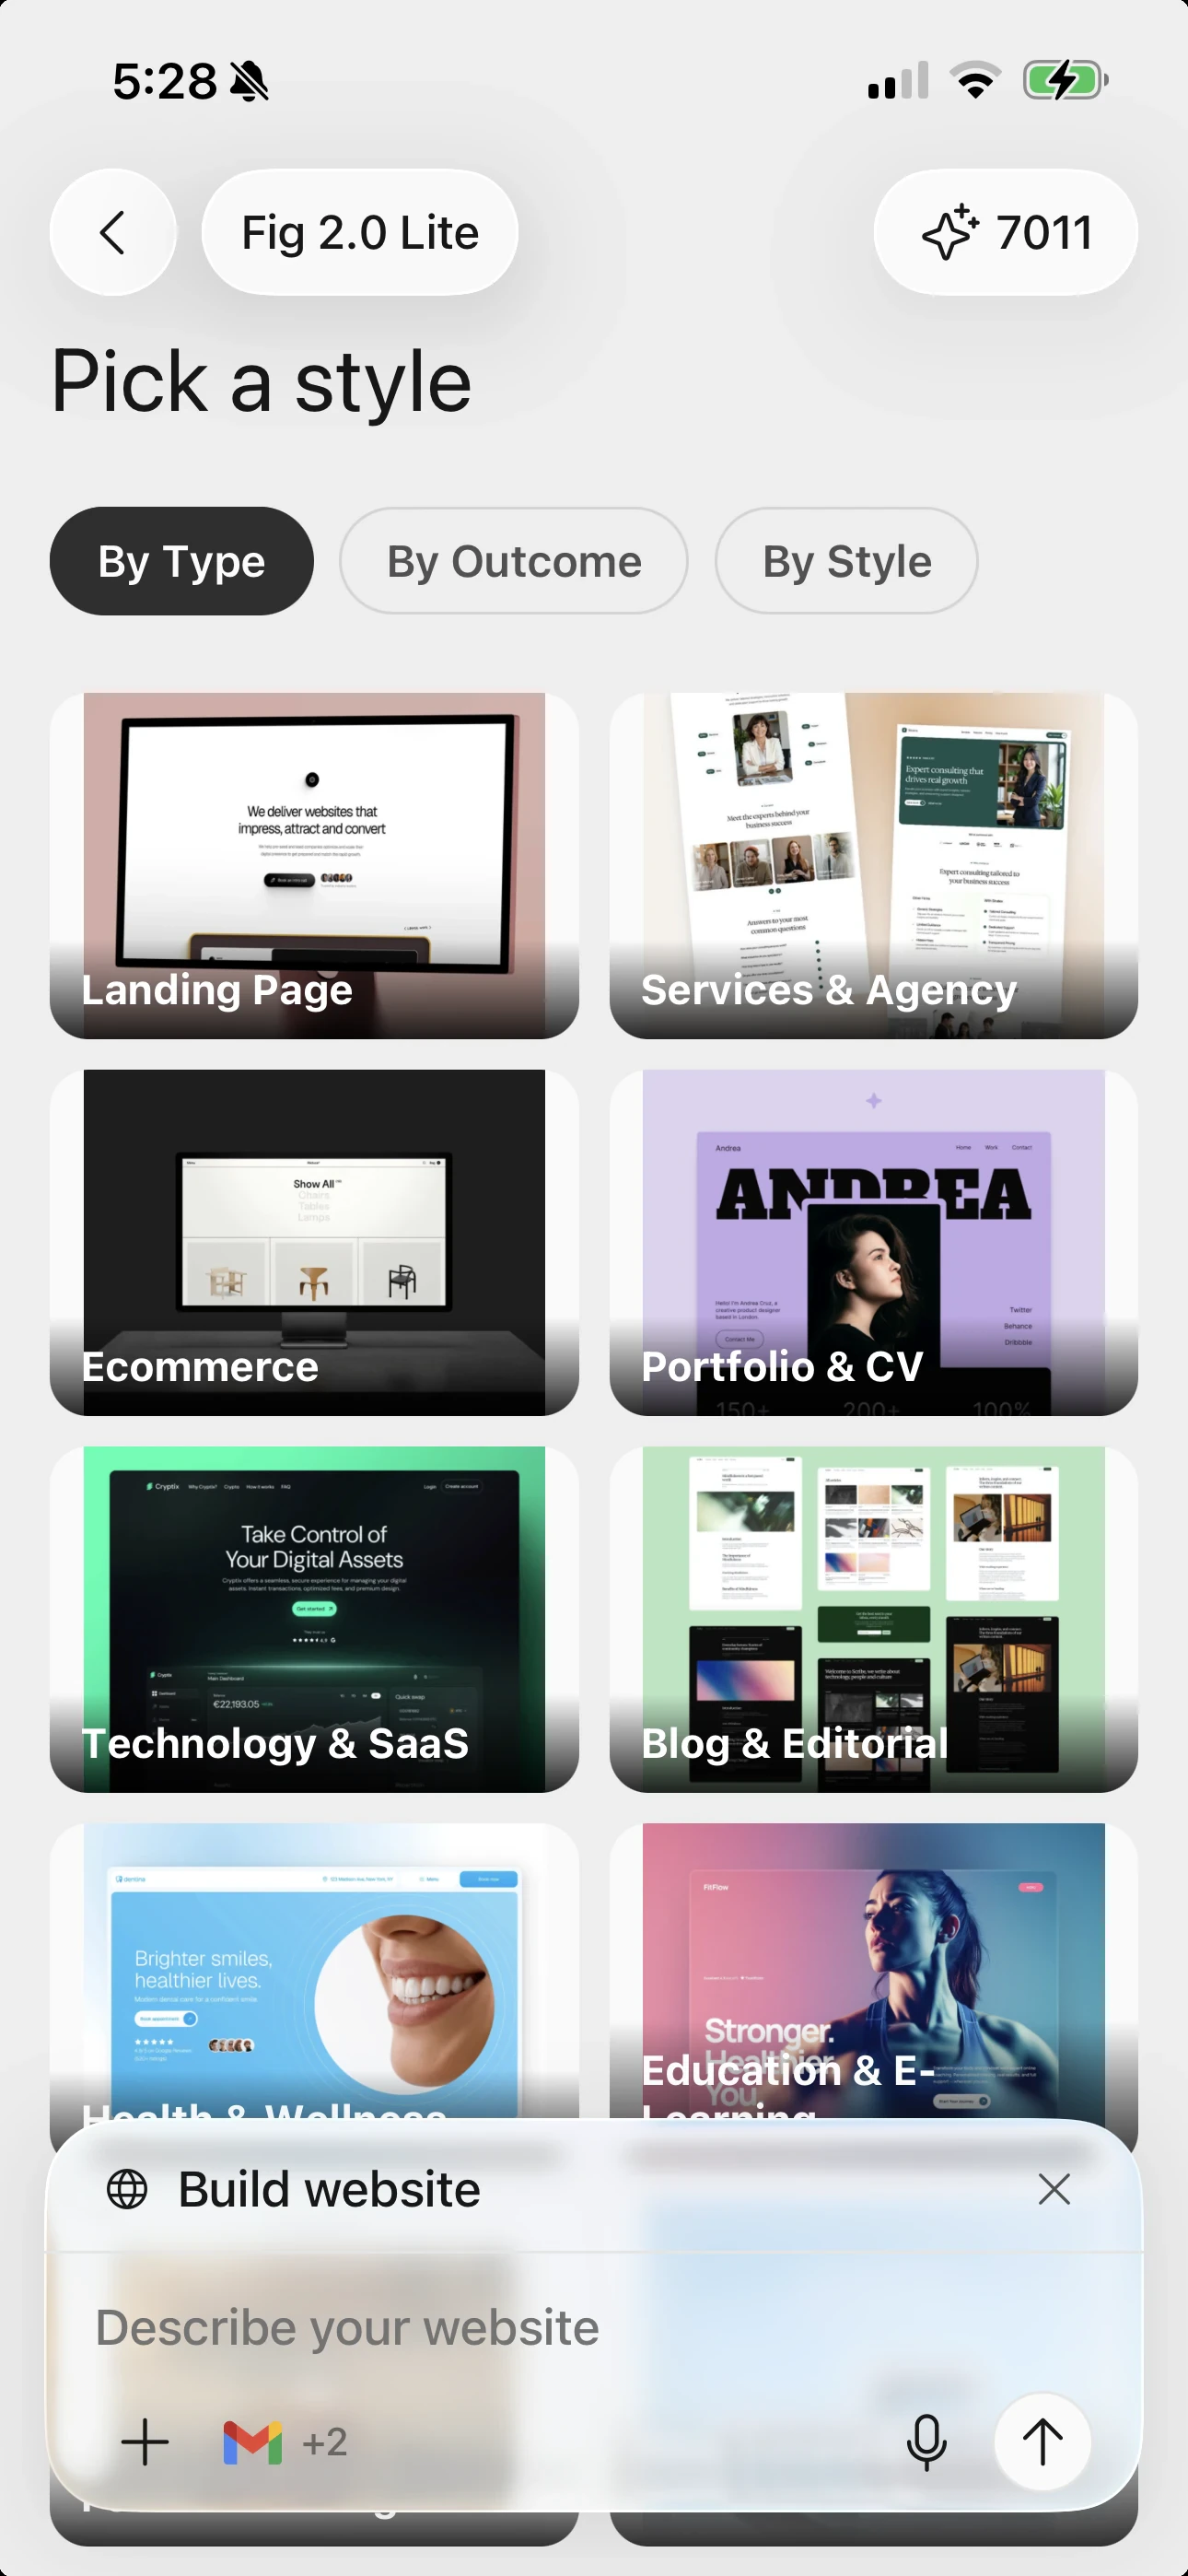
You can also **pick a style** to point Fig in the right direction — browse by type
(like Landing Page, Portfolio, or Ecommerce), by outcome, or by look. Then Fig
builds a complete website for you, ready to view and edit.
 Don't worry about getting it perfect on the first try. You can change anything
afterward — just tell Fig what you'd like different.
## What's next
Fine-tune your site and see how it looks.
Put your website online for free.
Don't worry about getting it perfect on the first try. You can change anything
afterward — just tell Fig what you'd like different.
## What's next
Fine-tune your site and see how it looks.
Put your website online for free.